This article explains how to make a proper ODT or DOCX template file that you can later use for making PDF snapshots from your issues.
Making an ODT template
The best way to explain templating is to use an example. You will need an OpenOffice Writer application to make your ODT template. Below you can see an example of a template in ODT format.
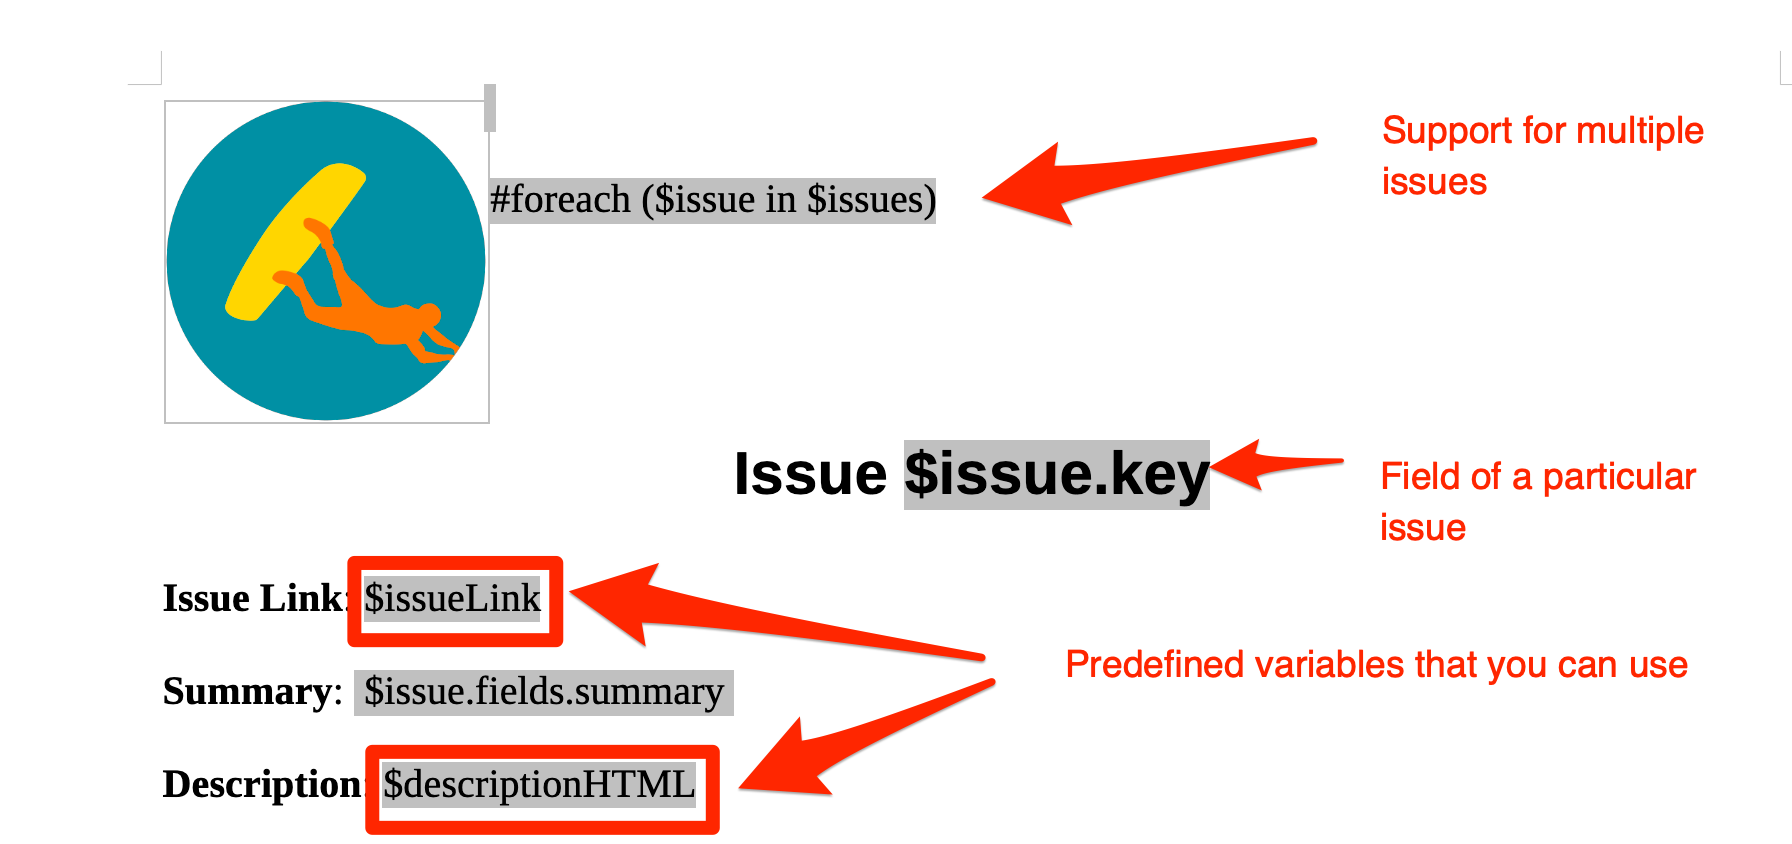
Raley is using modified xdocreport to generate report file with Velocity substitution. The screenshot from the source.odt file below shows where the data comes from
The areas in grey background are Input Fields. Think of an input field as of a place where you put your Velocity placeholders and statements like $issue.fields.summary and #foreach ($issue in $issues)
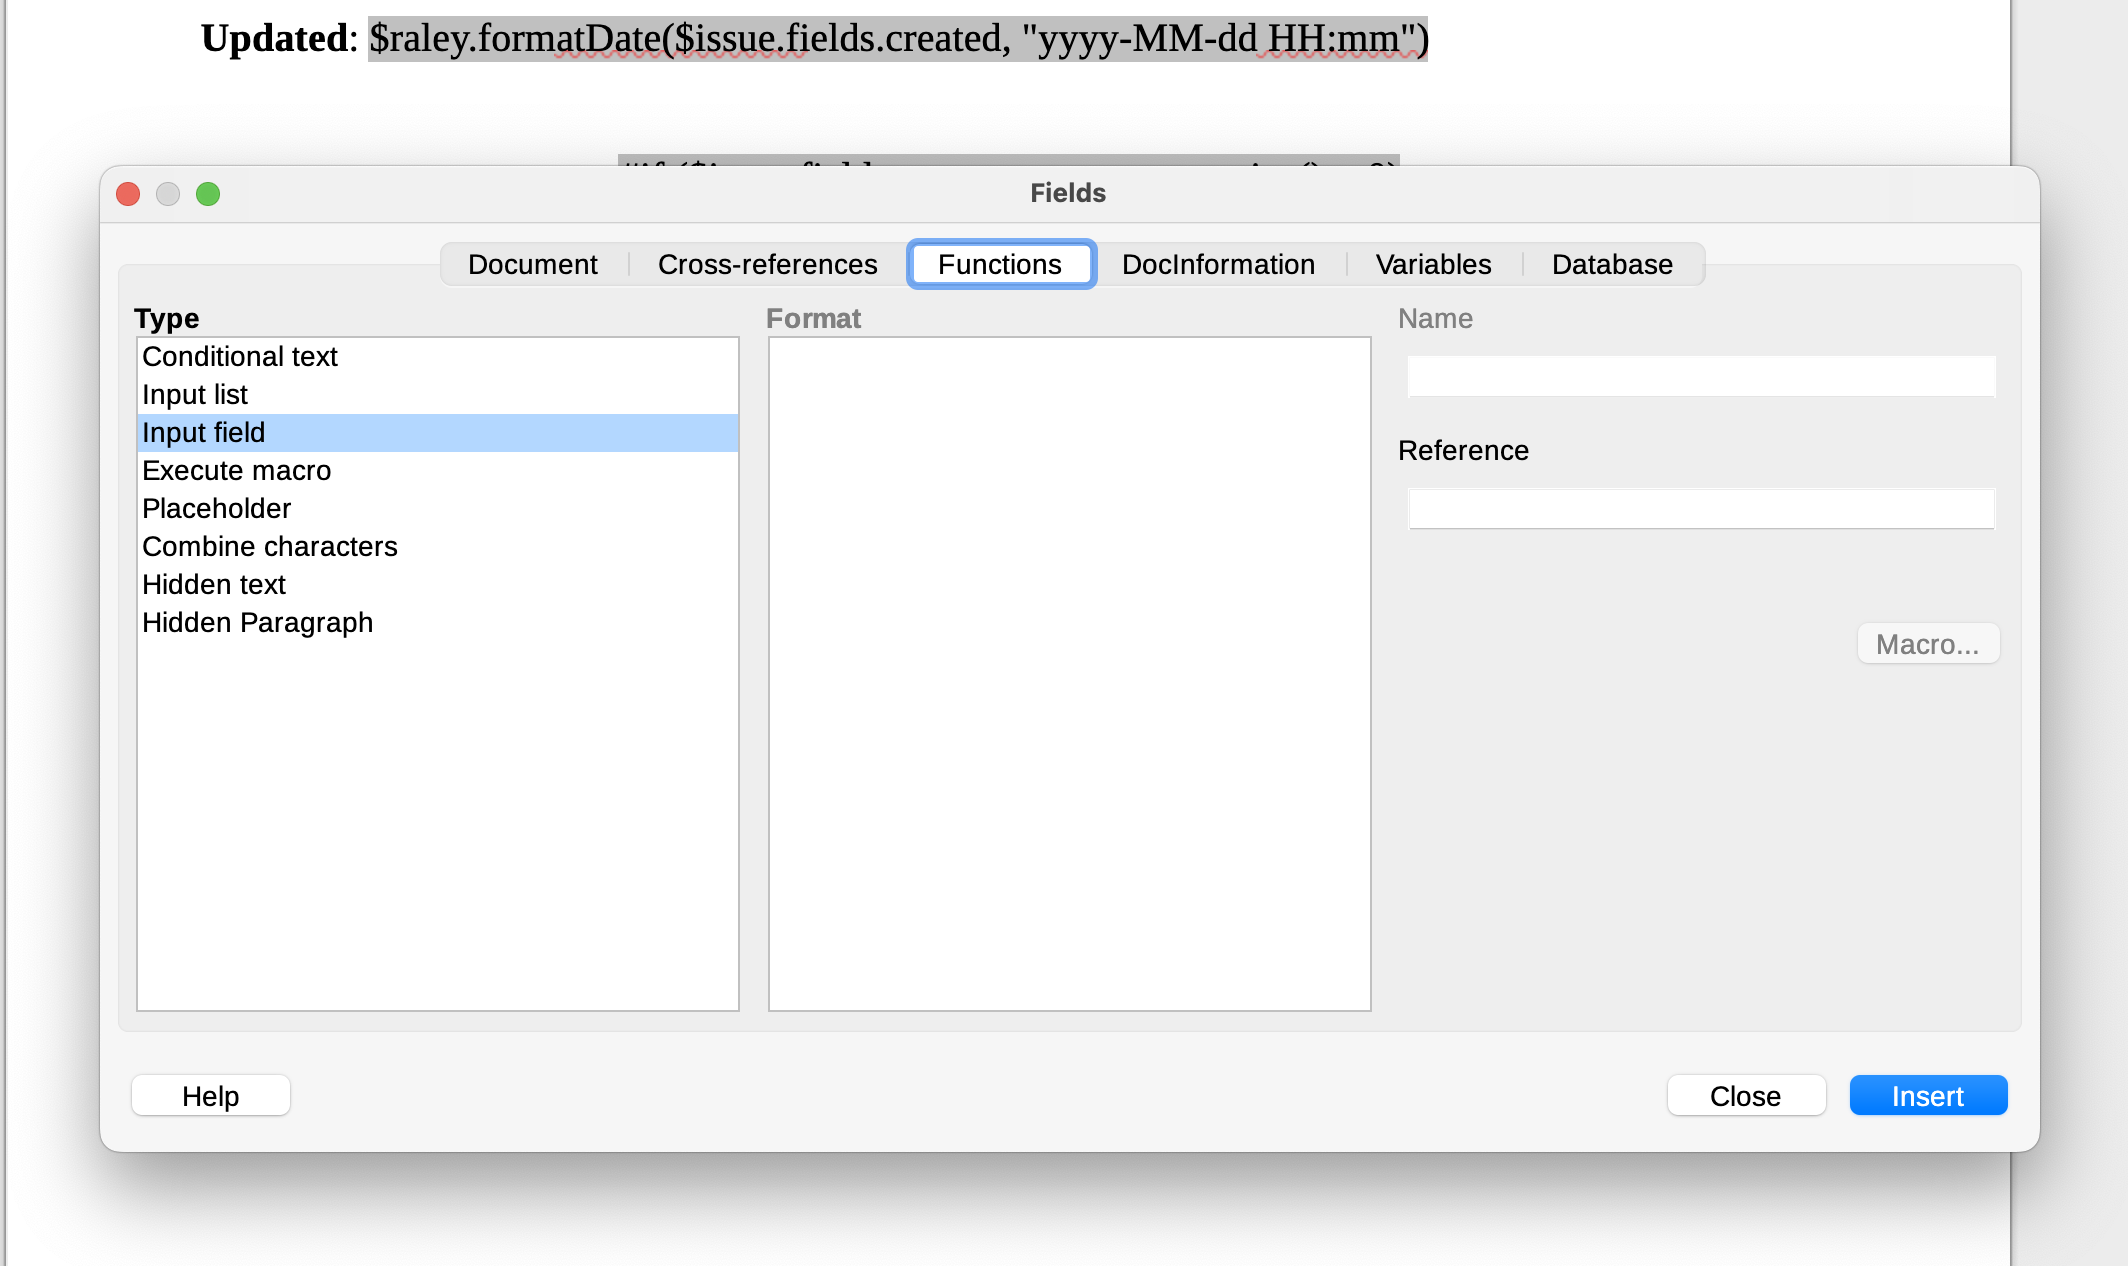
To insert a new Input Field, click on menu Insert → Field → More fields → Input field
You'll see a popup window like this:
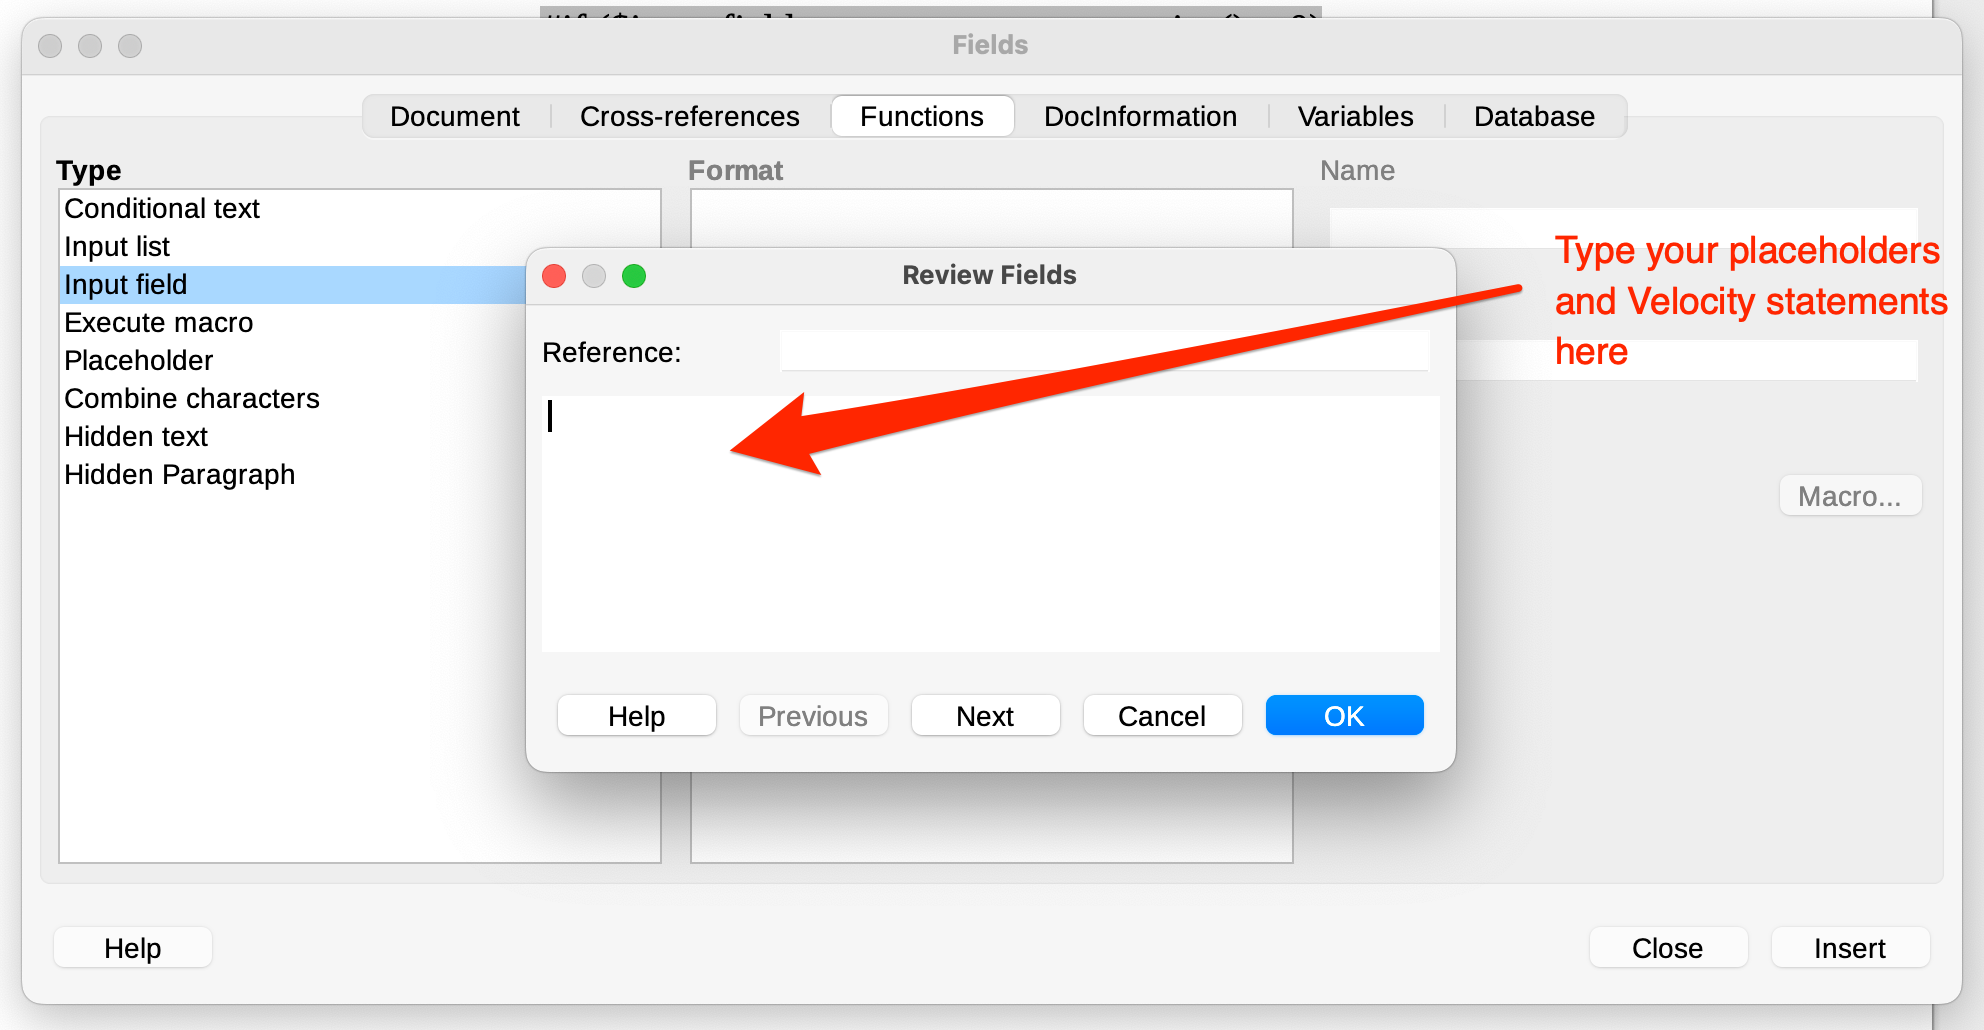
Click on the button Insert and you'll get one more popup:
Here's where you put your placeholders and statements. Once you've finished, click on OK button and then Close button on the previous popup. The OpenOffice writer will
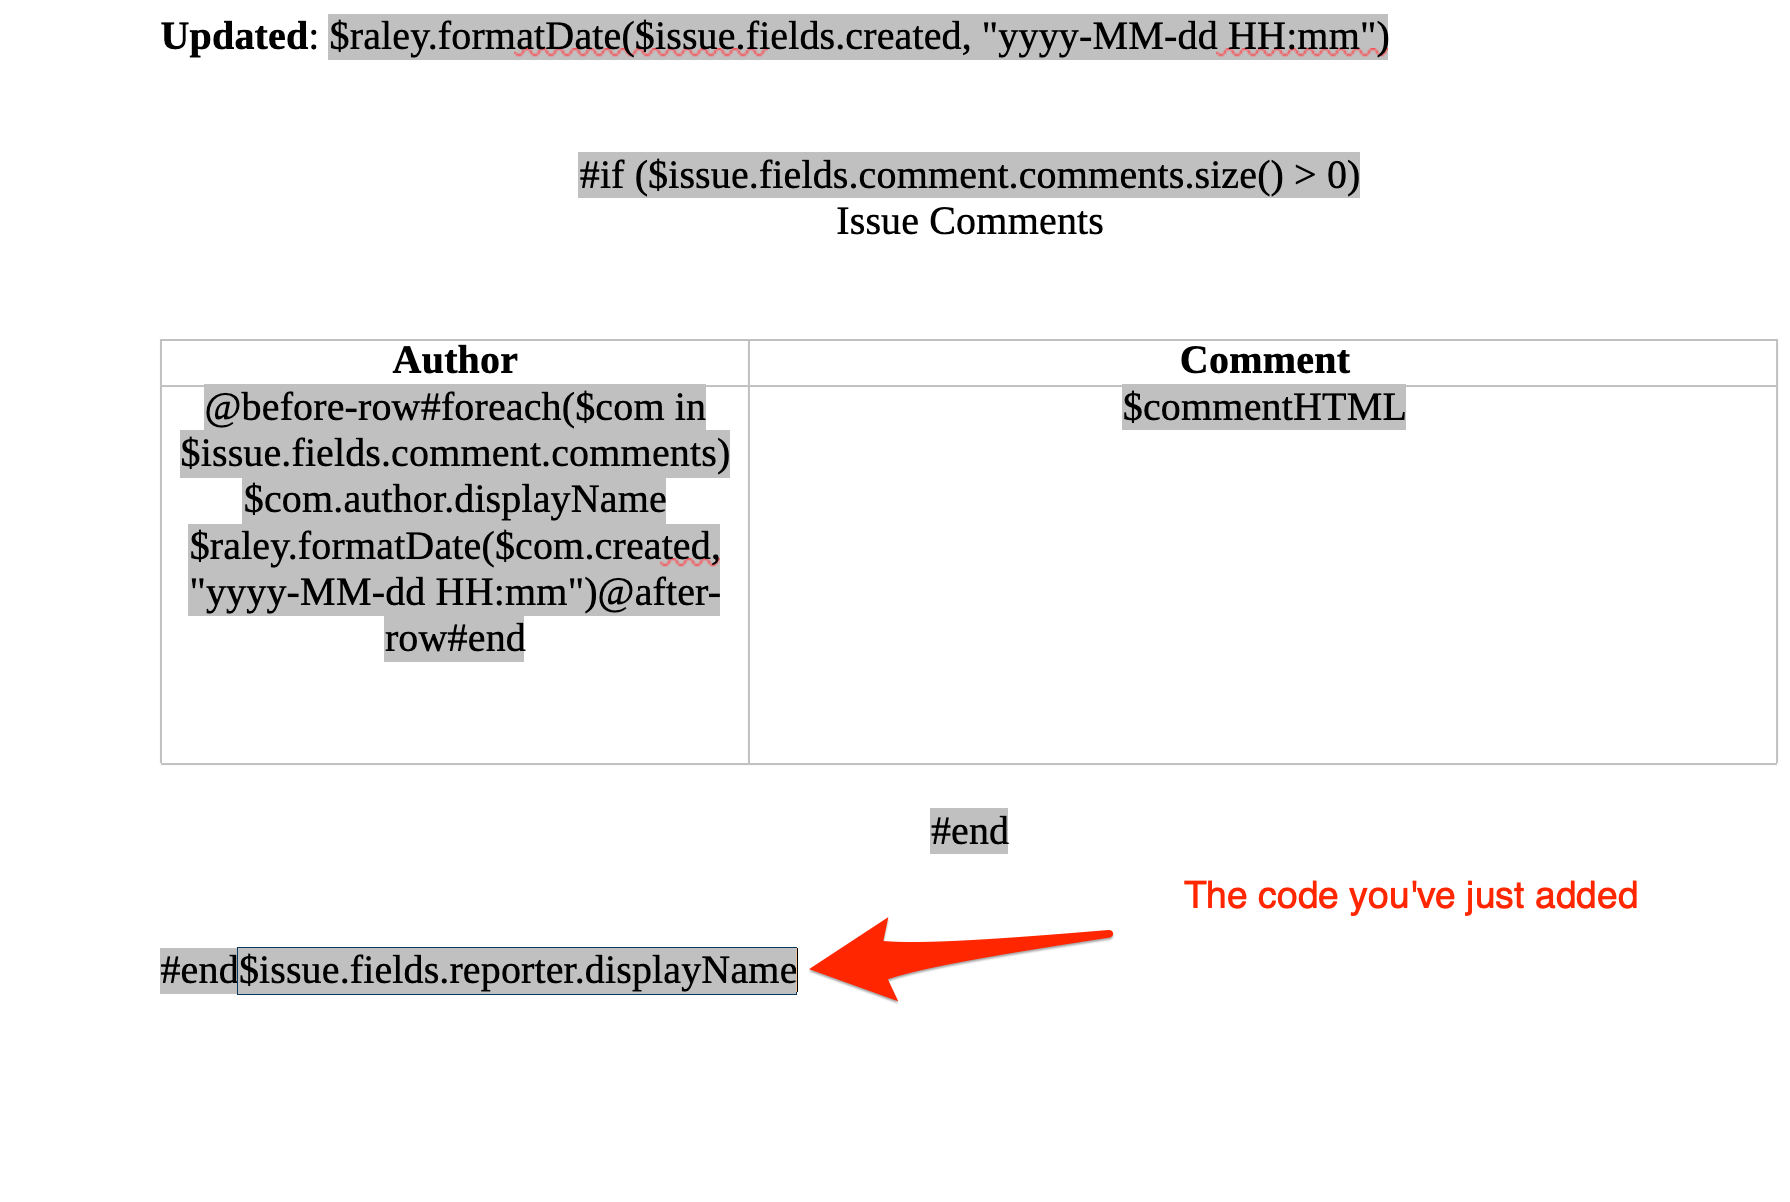
insert your code to the place where you had your cursor before clicking on Insert → Field → More fields → Input field. For example:
This is how you add new Input Field. To modify an existing Input Field simply click on it and it will be highlighted in a light grey color. Then you can adjust your code there directly.
Making a DOCX template
For DOCX templates you'll need to use MS Word as editor. The key difference from ODT OpenOffice templating is that instead of Input Field, you'll need to use MERGEFIELD.
To add a new mergefield, simply click on Insert → Field → Mail Merge → MergeField . The field will be inserted at the position of your cursor:
Click on it and you can add Velocity template constructs and references to the Jira fields exactly as with ODT templating.
Note: currently there is a known issue about rendering links and rich text in DOCX format. We recommend that you use ODT templating if you need these kind of data to be rendered properly


